

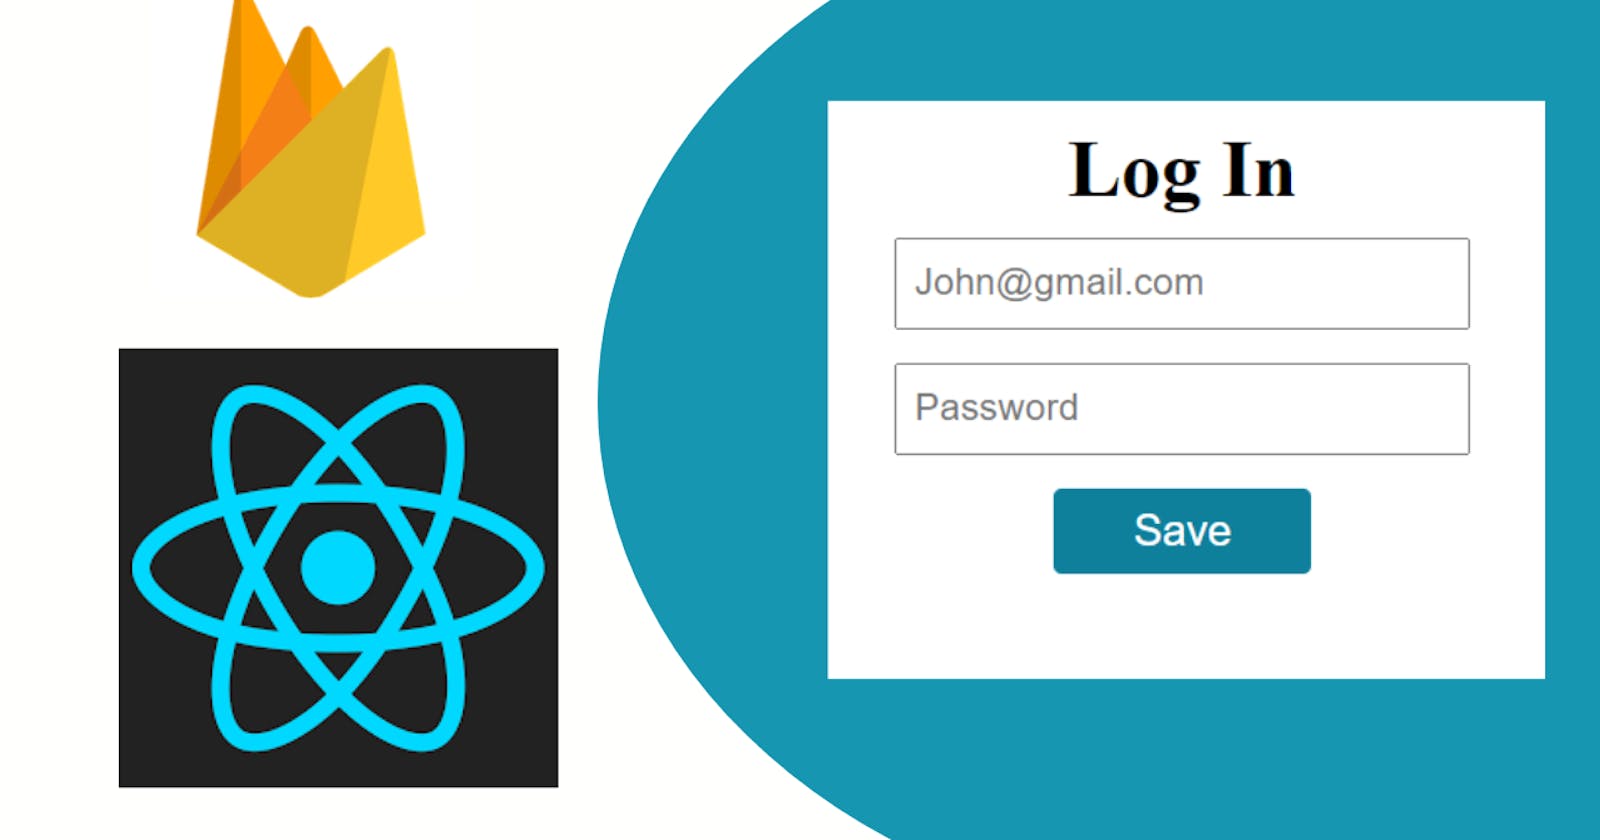
To create login functionality using Firebase for a blog, you can use Firebase Authentication to handle the user registration and login process.
You can then use the Firebase Database to store user information, such as their email and password.
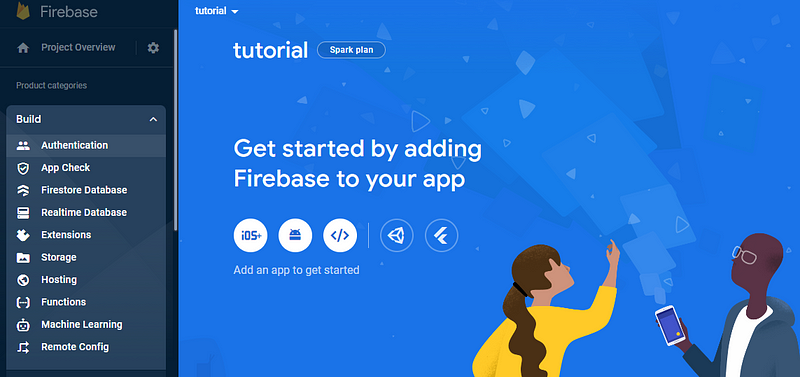
step1.
Go to the firebase console and add the project

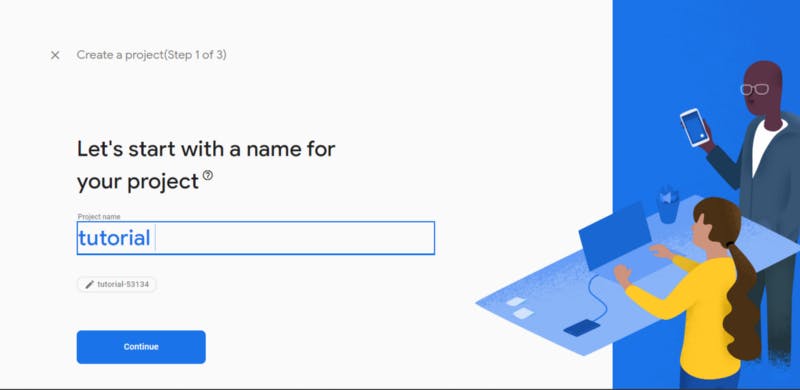
I have named it a tutorial project and you can name it whatever you want. Click on the "Continue" button.
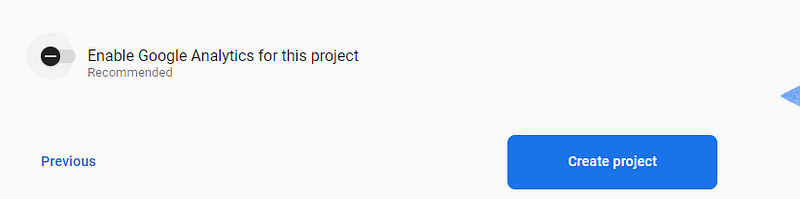
We can disable Google Analytics and create the project.
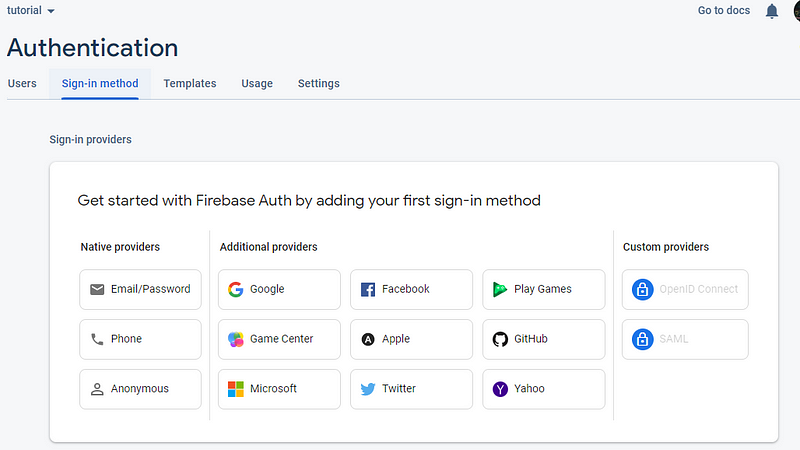
Step2.
now from the build choose the authentication and click on the button “get started”.
Go to sign-in method.
Here I’m just selecting the Email/Password method so go ahead and enable it.
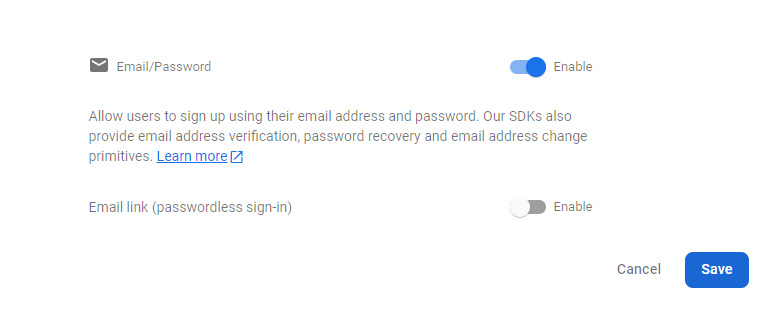
click on the save button
By using “add new provider” you can add the new methods as well.

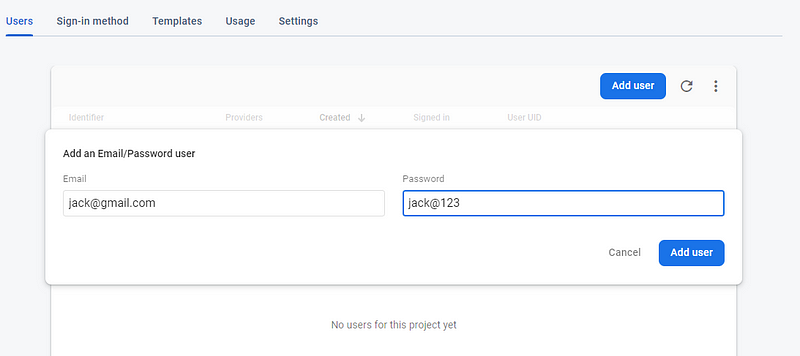
step3.
Go to user section and create new user and fill the email and passoword
so now we have done with the firebase. We have added our user so let’s integrate the firbase into our application.
step4.
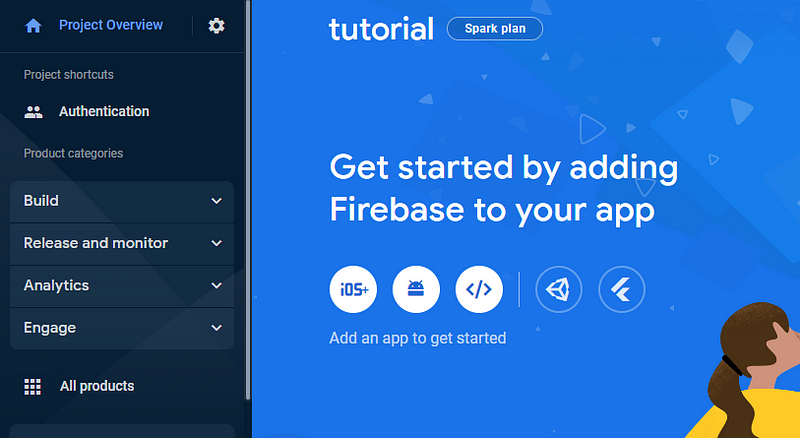
To get the code for integration we have to navigate in firbase on code section
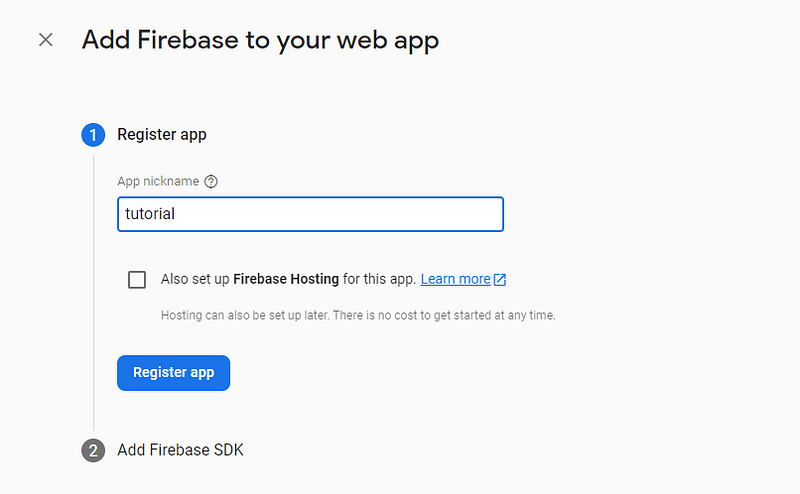
so click on project overview and click on the web icon </>
you will see such type of interface give a name of your project. I named it simple tutorial you can whatever you want and click on the button that is “Register app”
After that, you will have two options for integrating the firebase into your app. I will use npm in React. And also you will find your firebase configurations.
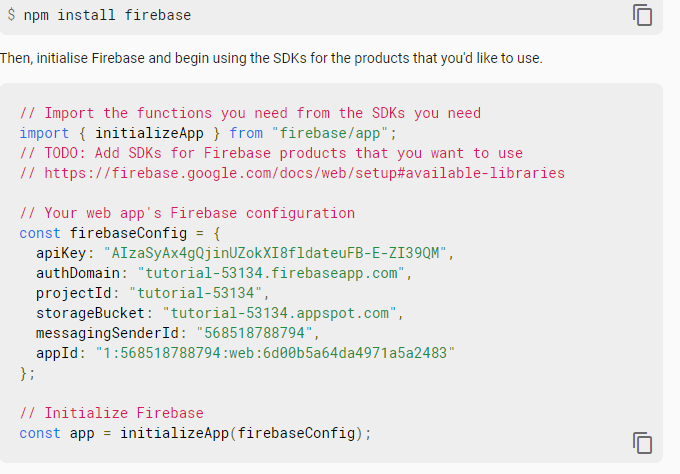
I will delete this project, so these values will not work for you. you have to create your own.
step5.
Let’s move on the coding part and final part
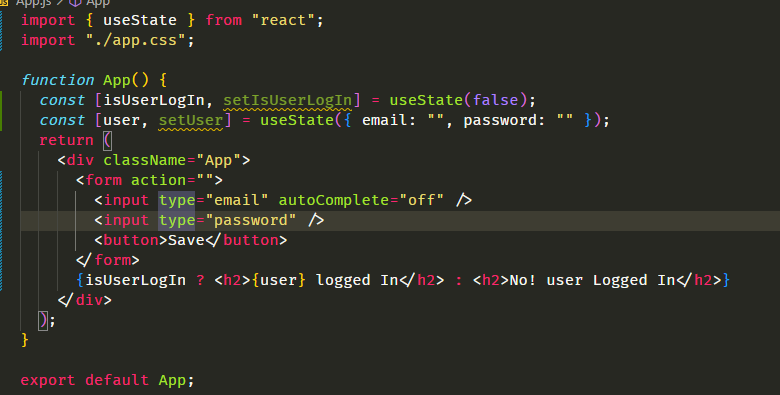
correction you should use {user.email} instead of {user} because it’s an object
here I have deleted all the unnecessary code and defined two state
one will contain user's email and password and the second one is check if the user is logged In then show the text according to that.
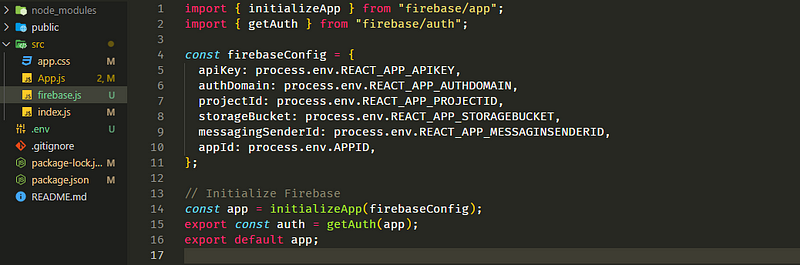
let’s add the firebase configuration.
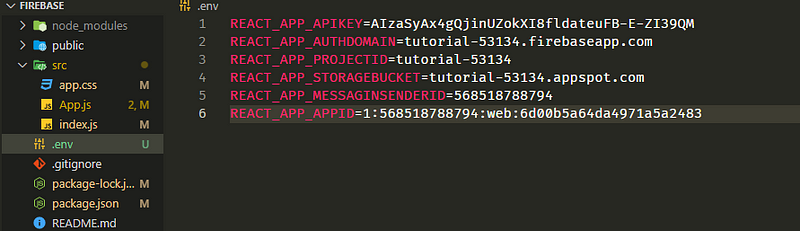
You should use .env file to keep your configurations secure. create .env in parallel
create a file firebase.js and put all the code you got from firebase
Step6.
Now let’s add the functionality and get these line from firebase https://firebase.google.com/docs/auth/web/start?authuser=0&hl=en
signInWithEmailAndPassword(auth, email, password)
  .then((userCredential) => {
    // Signed in
    const user = userCredential.user;
    // ...
  })
  .catch((error) => {
    const errorCode = error.code;
    const errorMessage = error.message;
  });
first let’s create handleSubmit function with handleChange
import { useState } from "react";
import "./app.css";
import { signInWithEmailAndPassword } from "firebase/auth";
import { auth } from "./firebase";

function App() {
  const [isUserLogIn, setIsUserLogIn] = useState(false);
  const [user, setUser] = useState({ email: "", password: "" });

  function handleSubmit(e) {
    e.preventDefault();
    console.log(user);
    signInWithEmailAndPassword(auth, user.email, user.password)
      .then(() => {
        alert("user logged in");
        setIsUserLogIn(true);
      })
      .catch((error) => {
        console.log(error);
        // ..
        setIsUserLogIn(false);
      });
  }

  const handleChange = (e) => {
    setUser({
      ...user,
      [e.target.name]: e.target.value,
    });
  };

  return (
    <div className="App">
      <form action="" onSubmit={handleSubmit}>
        <input type="email" name="email" onChange={handleChange} />
        <input type="text" name="password" onChange={handleChange} />
        <button>Save</button>
      </form>
      {isUserLogIn ? (
        <h2>{user.email} logged In</h2>
      ) : (
        <h2>No! user Logged In</h2>
      )}
    </div>
  );
}

export default App;
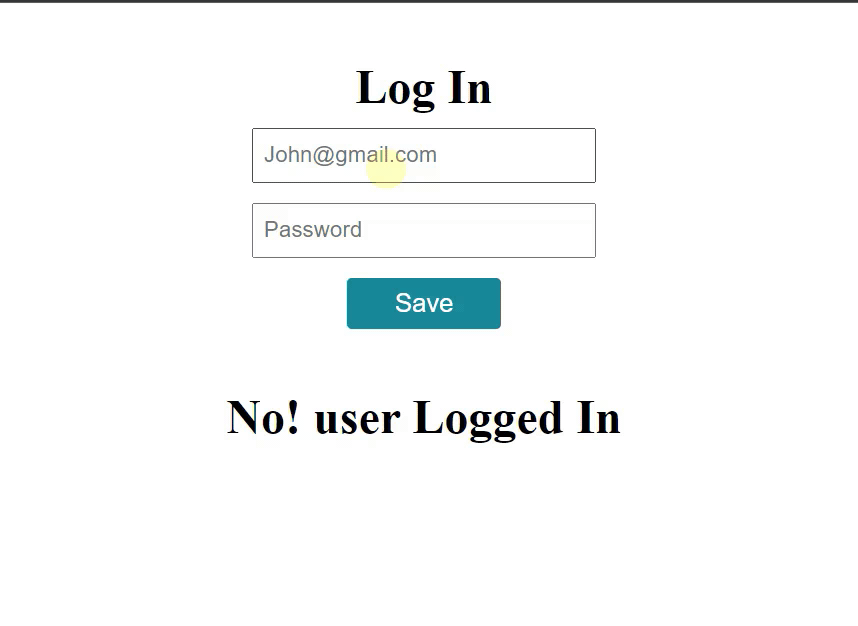
now if you go to your browser you should see
hope you find it help full.
Happy coding!
want to give suggestions:-
Email me at nidhisharma639593@gmail.com